
Sourdough Crackers
This recipe is based on Andrew Whitley’s yeast crisp bread ( “Bread Matters” Publisher Harper Collins, 2009).

What you need:·
100g sourdough starter (see end of this blog – it’s easy)
100g strong plain flour for refreshing your starter.
150g strong flour; for variety use plain white, wholemeal and / or rye.
25g semolina flour plus extra for dusting
75ml warm water (approx)
20g Olive oil
5g salt (optional)
Seeds (15-25g poppy or sesame. Or 50g linseed)
10-15g spices (chilli powder, hot smoky paprika, cracked pepper etc).
Non Foodies Crackers Hacks
Spend more money and buy crackers at your local supermarket - but be warned they won’t be as nice or nutritious!
Ditch the sourdough starter and use a yeast based starter instead: to 120 g strong white flour add 1 g bread yeast and 75 g water. Leave overnight. Take 150 g of that and use that in place of your refreshed soughdough starter.
Make a double batch of dough and divide into two adding different seeds and spices to each batch.
Cracker Method For Foodies
1) Refresh a portion of your mother starter (see below). Place 100 g of starter in a bowl, add 100 g strong plain flour, mix in 50 – 75 ml warm water to create a sloppy toothpaste consistency. Cover and set aside in a warm place until doubled in size (usually 3-5 hours, or leave it overnight).
2) Remove 150g of your refreshed starter and return remainder to mother starter.
3) Add semolina flour and 150 g flour to refreshed starter, using any combination of white, wholemeal and/or rye but no more than 75 g of rye flour.
4) Add salt (optional)

Lunch on the shores of Pillie Lake, Lincoln National Park.
No need to add salt!
5) Add seeds if you want seeded crackers.
6) Add your chosen spices
7) Add olive oil and warm water and mix to form a kneadable dough. If it’s too wet then add more flour; too dry add more water.

8) Tip onto a bench and knead 5 minutes.
9) Return dough to a clean bowl, cover and leave in a warm place for 1 hour
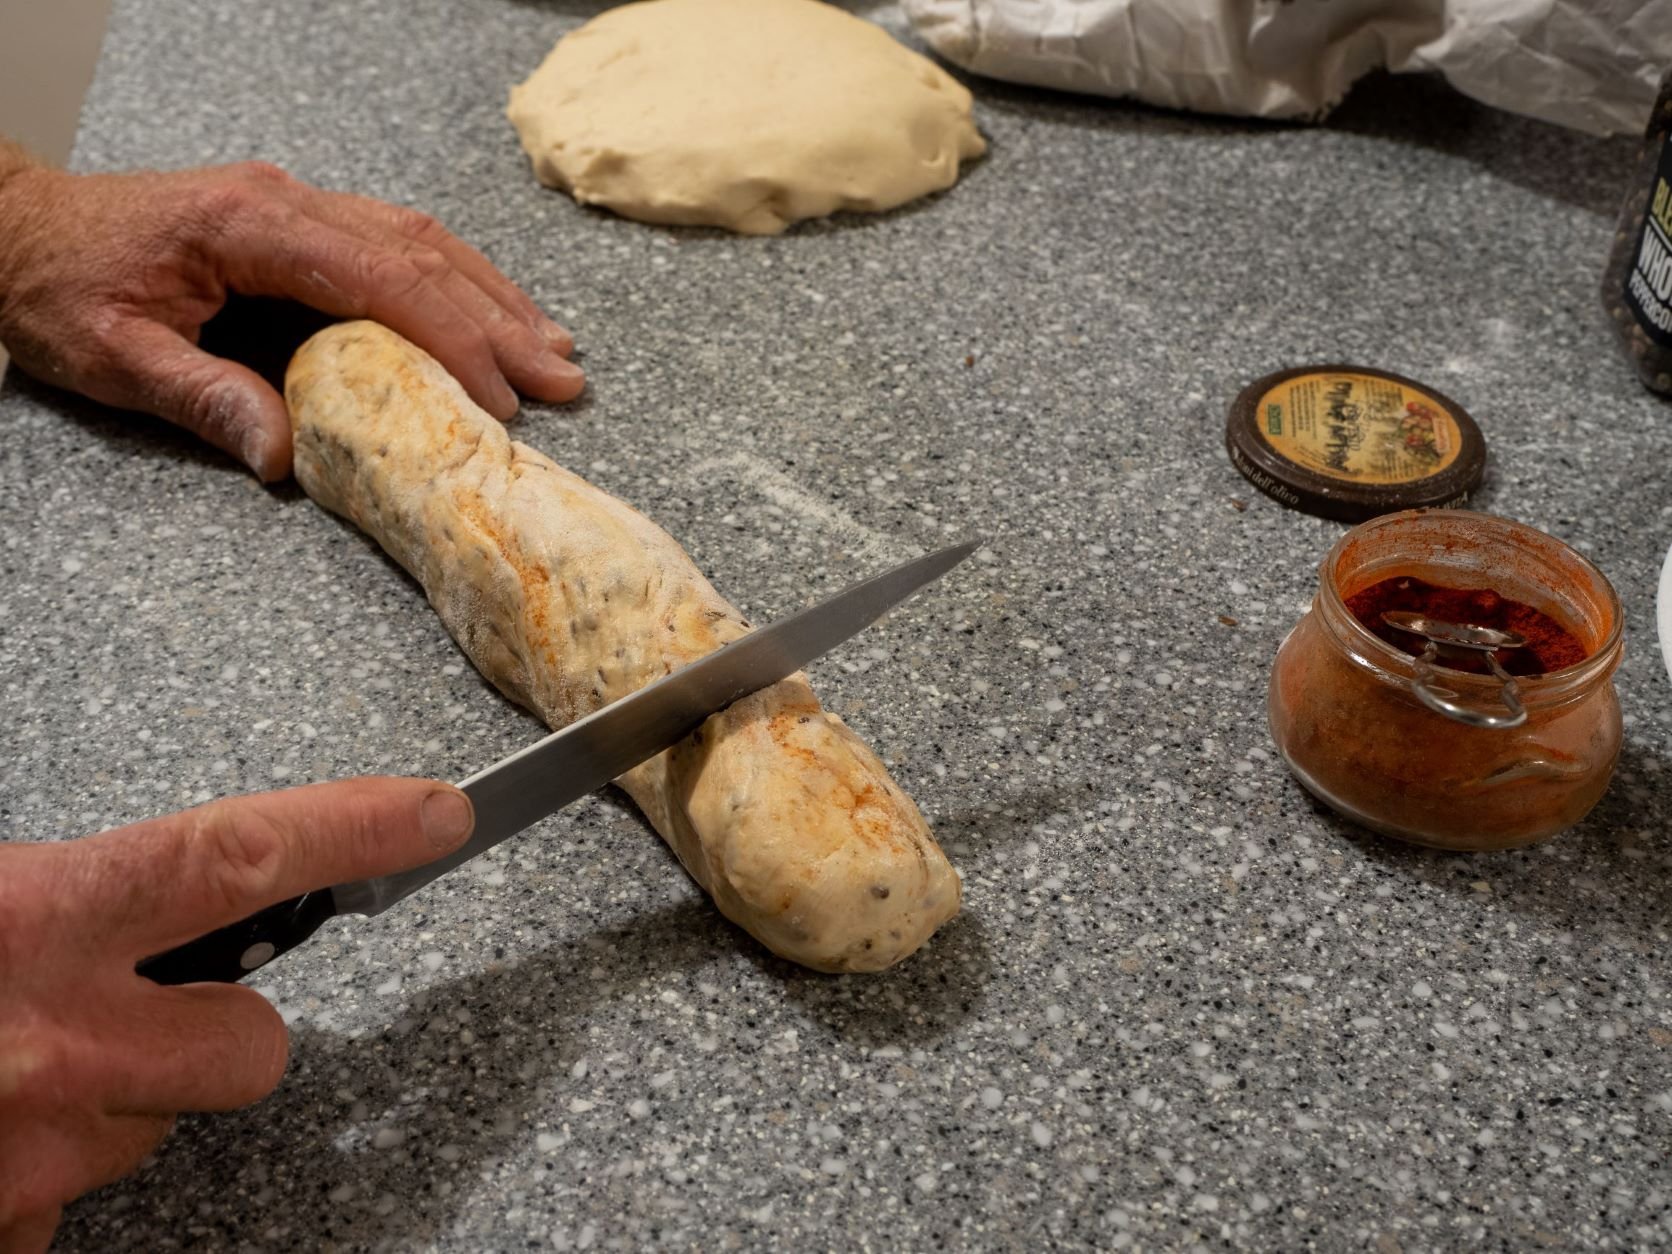
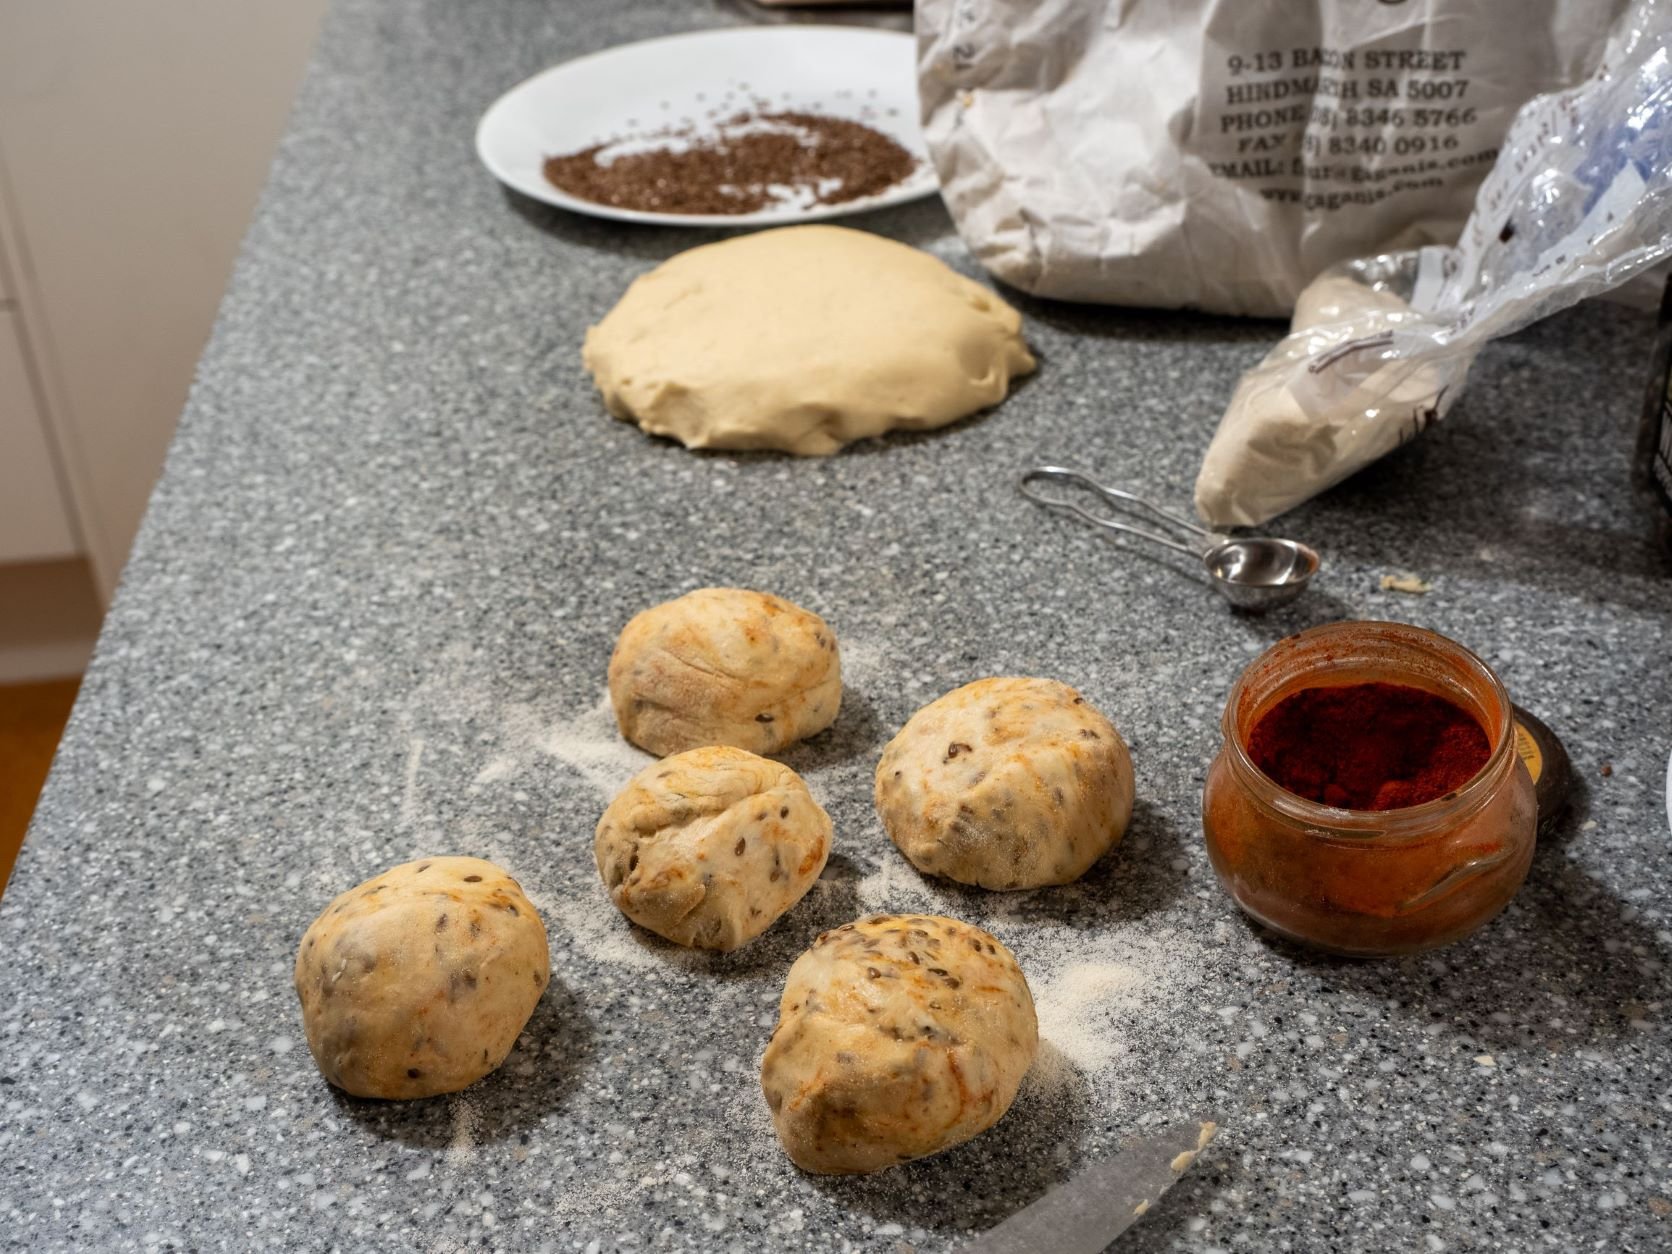
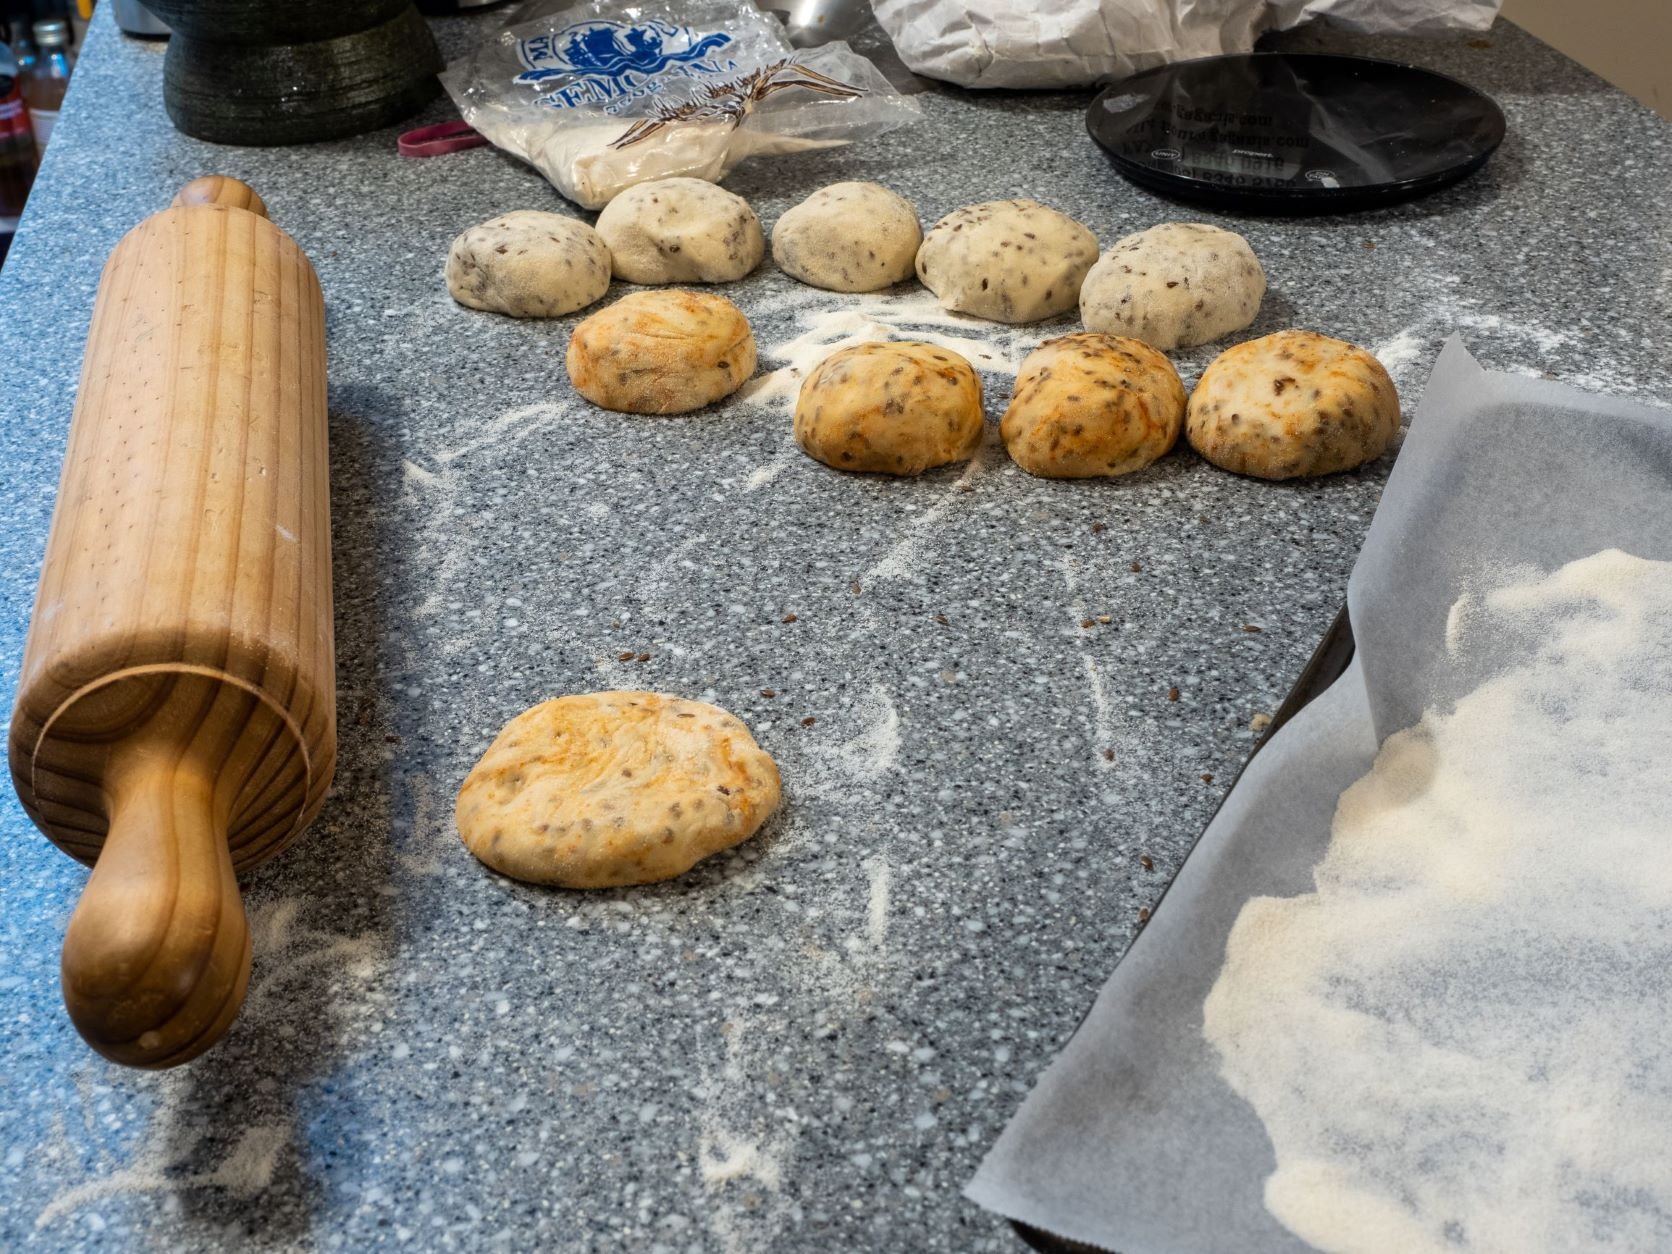
10) Remove from bowl and divide into five dough balls.
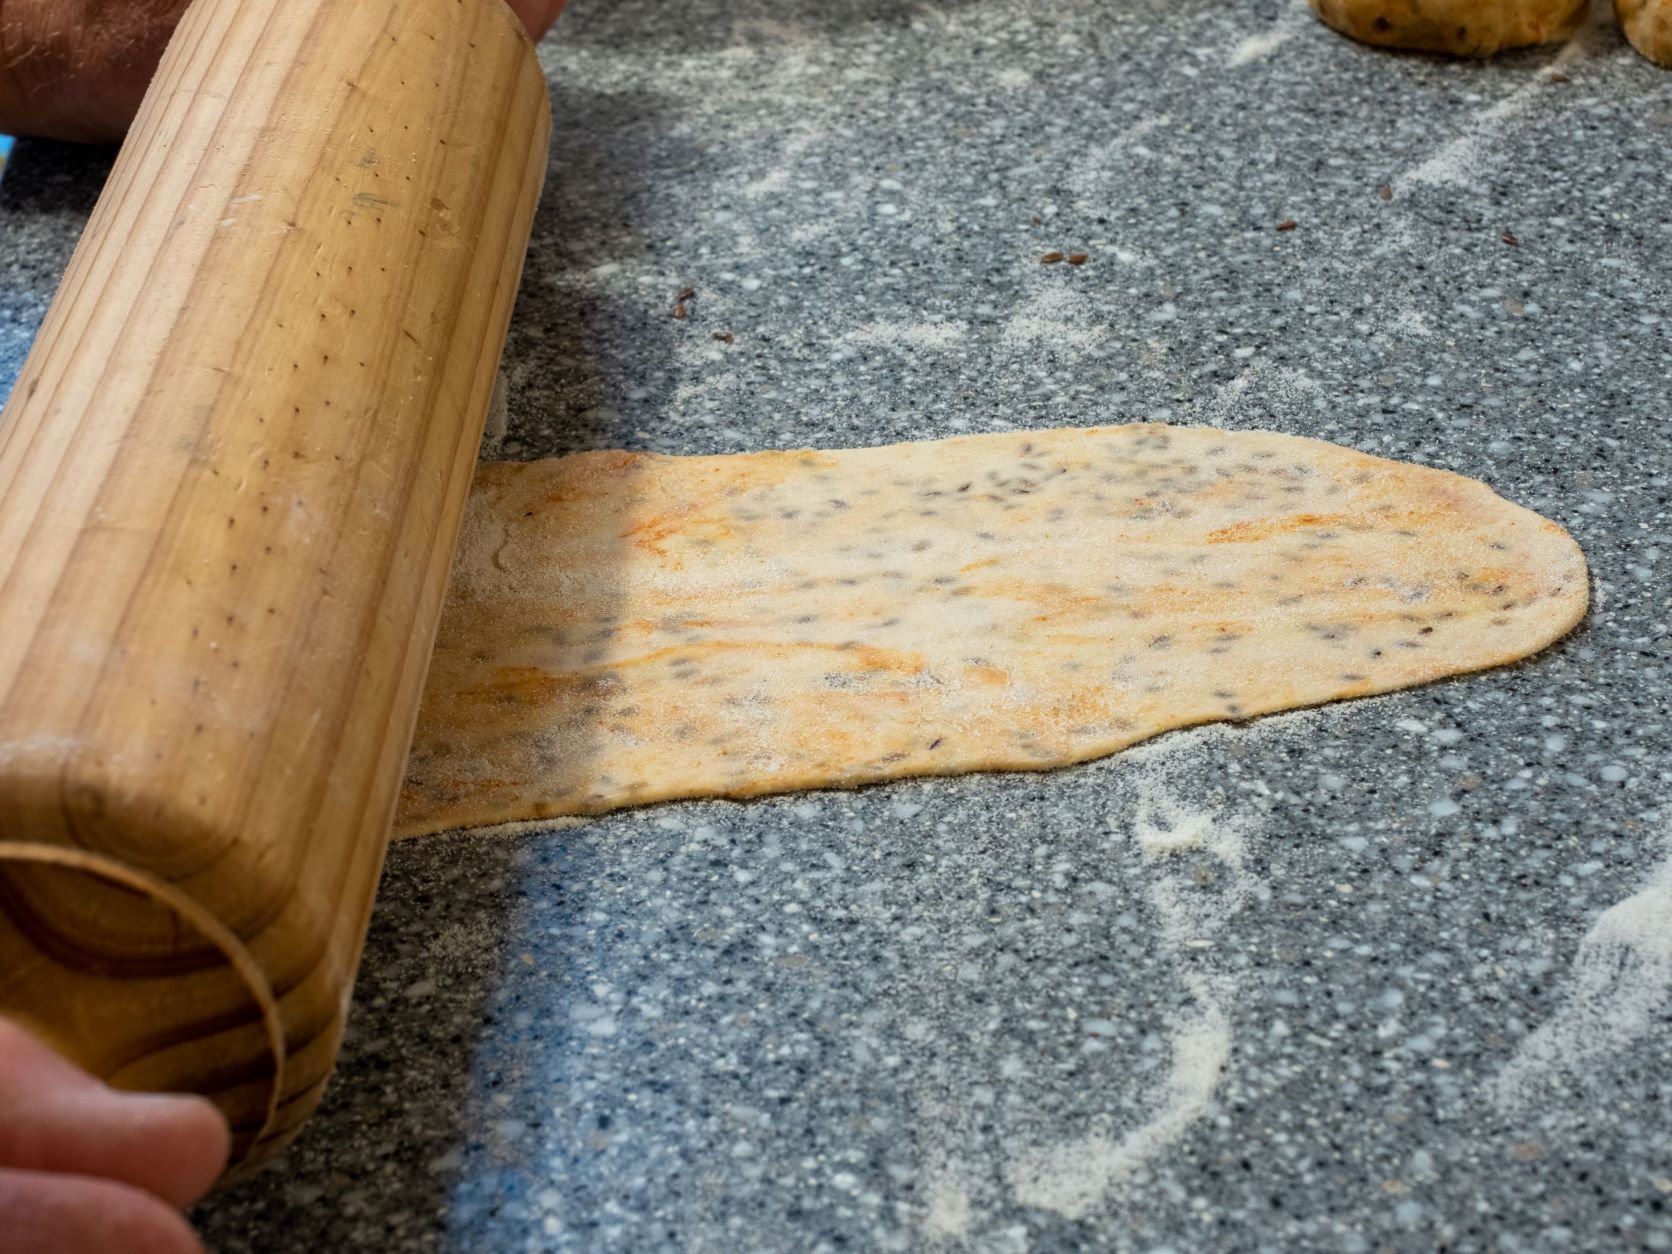
11) Roll each dough ball out into a thin long slab shape – about 30 cm X 5 cm. Dust with extra semolina flour.

12) Place each slab on a baking paper-lined tray dusted with semolina flour.
13) Prick slabs every 1 cm with a fork to prevent them bubbling during baking.
14) Set aside covered for 30 minutes. Preheat oven to 160 C.
15) With a pizza wheel or knife lightly score at intervals to your desired cracker size. Regular sized crackers are easier to package.
16) Bake for about 40 minutes (start checking at 20 minutes). They should be stiff and only lightly golden when cooked – if they brown too fast lower the temperature.

A double batch of slabs out of the oven before breaking up into crackers - hot smoky paprika with linseeds and a cracked pepper
All made with the same white and wholemeal flour mix.
17) When cool, crackers should be crisp and not malleable – if they are you’ll need to bake them a bit longer.
Depending on how greedy you are your five slabs should produce enough for crackers for four or more lunches. Store in an airtight container.
Sourdough Bread – Making a natural starter
If you need to make your starter from scratch – here is how you do it.
This recipe is based on a recipe by Andrew Whitley in his excellent book “Bread Matters” (Harper Collins, 2009).
Day 1: Put 2 tablespoons strong plain flour in a bowl – add warm water to form a toothpaste consistency – cover and leave in a warm place.
Day 2: Add 2 tablespoons strong plain flour to the bowl from day 1 and add warm water to form a toothpaste consistency – cover and leave in a warm place.
Day 3: Add 2 tablespoons of strong plain flour to the bowl from day 2 and add warm water to form a toothpaste consistency – cover and leave in a warm place. You might see some signs of activity by the end of day 3.
Day 4: Add 2 tablespoons of strong plain flour to the bowl from day 3 and add warm water to form a toothpaste consistency – cover and leave in a warm place.
Day 5 : The mix should be showing signs of activity – if so you are ready to go!
I always have an active starter by the end of Day 4. But if you haven’t you can either:
1. Wait a bit longer to see if it activates.
2. Repeat Day 4.
3. Start again with a fresh batch of flour, or
4. Add 1 g of dry yeast to the mix and wait a day – then you should be good to go. Over time the small amount of manufactured yeast will be replaced with the natural yeast as you take from and replenish your starter.
Ok you should be ready to go now!
You can use this starter for a wide variety of breads that are easy to make at home and much tastier than the shop variety - have a go!
The starter should be kept in the fridge between uses. It can last there for about three weeks without replenishment but if you regularly make bread and return a portion of the refreshed starter to the mother starter then it can last indefinitely. If it gets too old or acid for your liking then simply make a new starter.