
Mt Sonder/Rutjupma (Day 2, Sect. 12)
A steady climb through scattered wildflowers brings you to the highest peak of the Larapinta with breathtaking views in every direction

The amazing views begin long before you reach the summit!

Mt Sonder is the climax for E2W (East to West) hikers, and the inviting trailer for us W2E hikers because, from the summit, you see the enticing trail that lies ahead for the next few weeks!

Today’s 14.2km/8.8mi out-and-return hike begins with a steep climb of about 1.2km NNE up the southern side of the range, after which you follow a sharp ridgeline ESE all the way to the top. It is fantastic hiking because that narrow open ridge means that you have views west, north and south almost the entire way, culminating in even wider views to the east when you summit. All up, including rest stops, sightseeing and meal breaks, this day took us 8.3 hours. If you’re following our itinerary, compare your times to ours each day. That way, when you reach the more demanding sections around Standley Chasm, you’ll know whether you will be faster or slower than us on those days, and whether you need to allow more time.
How to Make Today Easier
Because today is an out and return, you can turn back at any time. If you’re unsure about completing the climb (it’s a good test of your ability to complete the hike to Ormiston because it’s the most demanding part of this western section), stop at the lookout a couple of kilometres in and return from there. However, the views just get better and better, so we encourage you to keep going as far as you can! We promise the views will distract you from those creaky knees!
Start early to beat the heat: there is no shade once you reach the ridgeline. And, because it’s an out and return along a spur trail, take your ultralight daypack (or your emptied ultralight pack) with first aid kit, water, lunch/breakfast/snack/dinner, PLB and head torch. It can be surprisingly cool in the wind at the top so bring a jacket too, especially if you’re night-hiking to catch sunrise or sunset when temperatures are often in the low single (celsius) digits.
Walk with Us

In shade initially through buffel grass on Redbank Creek’s floodplain. Rather than a daypack, Geoff is carrying his 600g/21oz Zpacks ArcHaul Ultra with gear for both of us. Geoff’s pack is 70L and mine is 60L. When your pack is ultralight, a slightly larger size has almost no weight penalty and they are often slightly taller and wider, so you can compress the weight closer to your back for a more comfortable carry.
I clip an Inreach Mini to my belt loop when hiking like this and Geoff carries the PLB on his shoulder strap.

The track is well-defined and somewhat rocky. There really isn’t anywhere else to walk!

Because this is an out and return, some of my pictures are from on the way back, but placed in the correct location in the order that you’ll see them on the way up. A fire has been through perhaps 12 months ago — you can expect that some part of the trail will have been burnt recently whenever you hike — but regrowth happens fast after rain. However, we did defer our hike a few years back when much of the trail was burnt just before our walk because plants are so important to my enjoyment of the landscape. Other botanists might do the same.

Central Australian Guineaflower (Hibbertia glabberina). Wildflowers bloom after rain at any time of year up here, and there have been good downpours recently.

Rough halgania (H. cyanea).

As you can see from the sign at the lower lookout, even this early into the climb there are plenty of views when the surrounding landscape is flat!

Stopping for second breakfast on the edge of the escarpment. Geoff is about to add water to our cold soak bean salad lunch in a few hours’ time. Cold soak salads are light and refreshing, perfect for hot trails like this. As long as they include grains/pulses/nuts and/or dried cheese, plus a splash of olive oil, they have plenty of energy — salads that include only fruits like tomatoes, capsicum, cucumber and onion are delicious at home but don’t provide enough energy for hiking meals.

Here you get a good idea of the track on the ridgeline: rough and rocky. You do have to watch every step: we met a number of hikers on our rest days in Ormiston and Standley who had tripped or sprained leg joints.
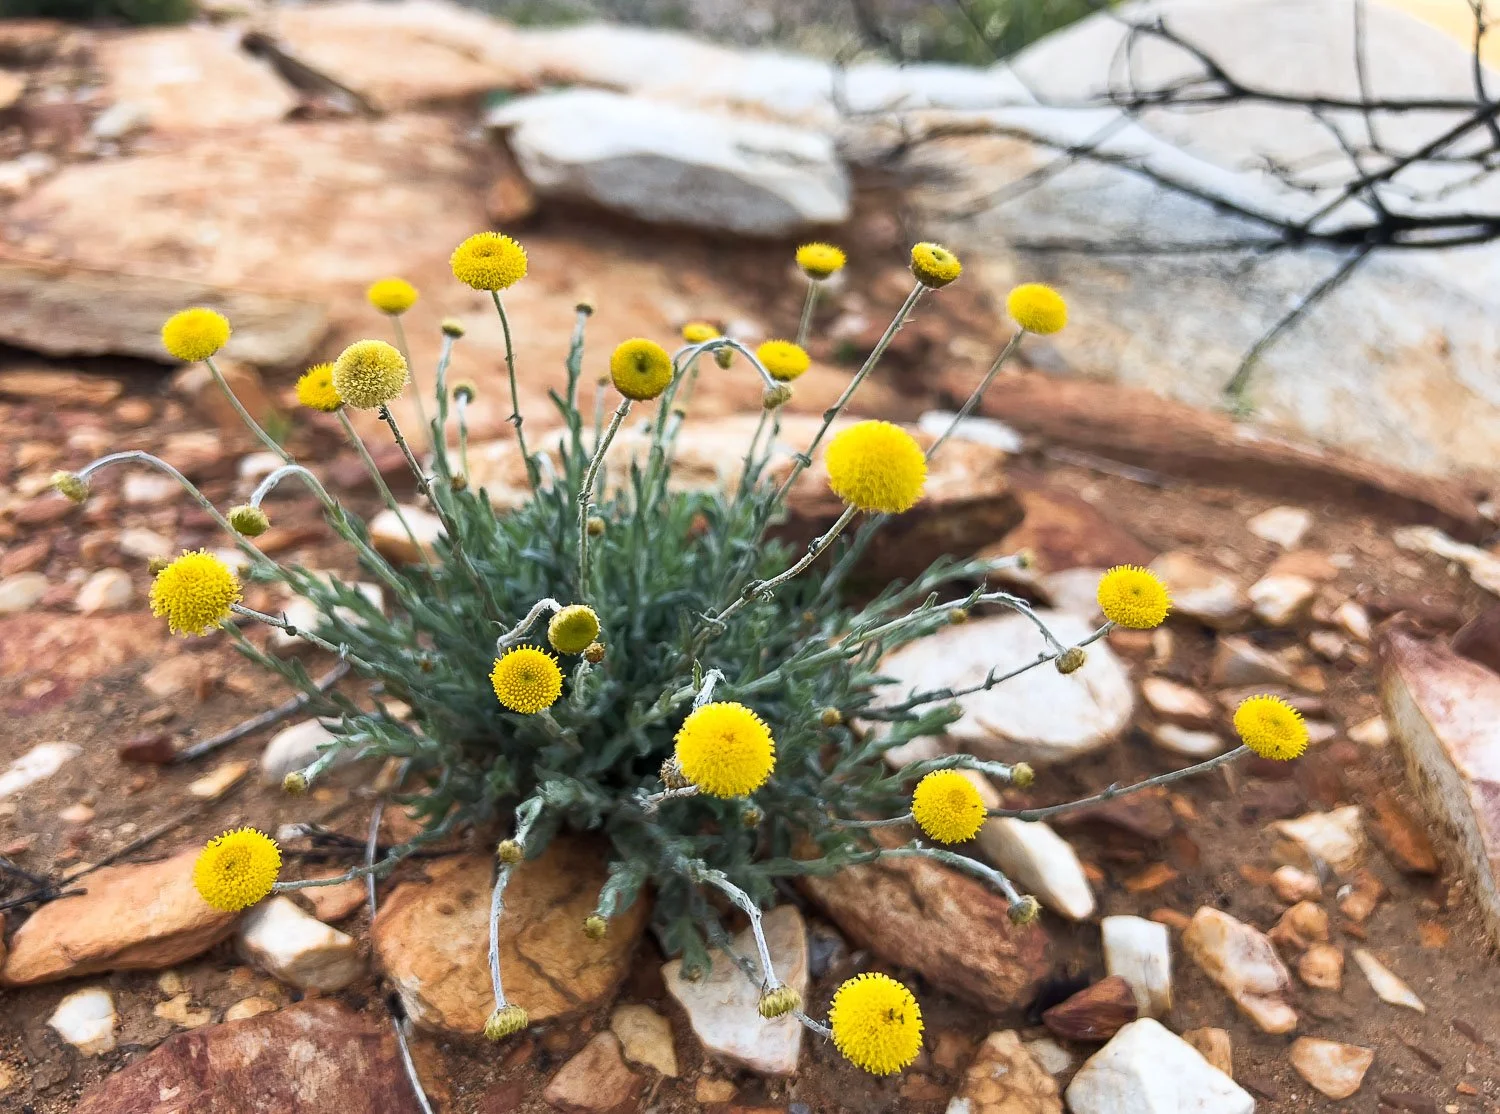
The photos don’t show just how many small colourful wildflowers are scattered along the track, here Billy Buttons (probably Calocephalus platycephalus). Botanists with cameras will be especially slow!

As a leisurely hiker, you have plenty of time to absorb the views, here looking south across the plain to the Pacoota Range.

Pacoota Range, folded layer upon layer like a Sara Lee cake!

You’ll read much online about what shoes suit the Larapinta but really, it’s what you’re used to, as long as they’re not brand new or you’ve never hiked in them before (whilst wearing a pack). Geoff and I prefer lightweight mid boots because we like a little ankle support, but we saw plenty of hikers in trail runners, heavy boots and ordinary sneakers. Just bear in mind that the trail is so rocky that hiking sandals will be annoying because of all the little stones they’ll catch.
My Topo Trailventure boots (top) aren’t waterproof, so they’re relatively cool; Geoff’s are waterproof Hoka Anacapa Mids. Someone told us that some of the lightest Hokas and Topos won’t handle this trail but both our boots were fine at the end, though they didn’t look as fresh as this!

And this closeup of the track is why a decent rand to protect the toes and front sides is probably more important than whether you choose a boot or shoe. I generally prefer a reasonable stone plate in the sole so I don’t feel every lump, but even these relatively light Topos were fine at the speed we hiked. See our article on how to choose hiking footwear for more information.

The track follows the very edge of the escarpment. Here and there are small unburned patches of vegetation, with more wonderful plants to discover!

In many arid environments with low nutrient soils, plants in the pea family predominate because they can fix their own nitrogen through the nodules on their roots. We saw countless tiny different species. Here, the spectacular Hoary Darling Pea, Swainsona flavicarinata.

As you near the top, the terrain becomes ever more rugged. Here looking west over the way we’ve come, with distant landmarks — Mt Zeil, Haas Bluff — on the horizon.

And then the top! It’s tiny, perhaps one quarter the size of a tennis court… will you have it to yourself, too? Maybe. On the way up, we met a few dozen hikers returning, and a school group passed us heading up. Definitely don’t expect solitude for dawn or sunset views!

The dial is a lot of fun because you can identify the landforms you’ll be traversing to the east over the next few weeks.

To the north is the actual peak of Mt Sonder, only a few metres higher. Please respect the Traditional Owner’s request not to climb it. As you can see, it obscures perhaps 0.5% of your 360 degree views and you can see them by stepping a few metres east or west: you are not missing out!

ESE and only a couple of kilometres away as the crow flies (but not, you’ll see, as the hiker walks!) is Rocky Bar Gap, with the campsite immediately on the other side, out of view, and Hilltop campsite centre left, with the steep climb in view!

The views east are fantastically inspiring: you’ll be traversing that terrain! So exciting, you’ll be raring to go!

Once you’ve had your fill of those exhilarating vistas, head back down for new views westwards to entice you the entire way. And, in this landscape with its clear wide skies, when you reach your campsite you’ll likely have a wonderful sunset with more to come: this is the first of many!
We respectfully acknowledge the Arrernte People as the traditional custodians of the land on which we walk and pay our respects to Elders past and present and to the Aboriginal people present today.