
Tents in Strong Wind: Terrain and How to Choose the Best Pitch
We now understand how wind impacts our tent but, because we don’t pitch them in midair, it’s equally important to understand how wind interacts with the terrain around our pitch.

On this particular morning in the Tassie highlands we were treated to an extraordinary, quickly changing skyscape. Here, lenticular cloud indicating high winds at altitude flowing over a mountain range
One of the simplest ways to predict what wind might be doing in a particular situation is to visualise it as water. Consider a wide, smooth-bottomed river with barely a ripple, compared to rocky rapids. Consider the eddy behind a boulder, or how water cascades down over a ledge, how it parts to flow around obstructions and what happens behind that obstruction. Thinking about water will help you with the following concepts relevant to wind and camping.

Wind flows around solid objects in the same way as water in a river flows around rocks. Notice the turbulence and eddies.
Be Observant
When you are hiking in difficult weather, the power of observation is one of your most useful tools. Wind itself is invisible but clouds, rain, snow, trees, grass and water can all tell you what the wind is doing. On water especially, wind speed, direction and turbulence are writ large if you are able to read them; grassy plains (‘seas of grass’) are similar. From an elevated spot, you can identify where trees and shrubs are moving most vigorously, and where the most sheltered areas are. I understand that patterns on snow can indicate areas of strong wind, too (please share in the comments below!). As hang glider pilots, Geoff and I use these skills to map the wind every time we fly, and they have proven enormously useful when hiking as well.
Once you’re familiar with your regional climate, you begin to see patterns. Local and continental seabreezes and cold fronts have certain associated wind directions. Valley or gully winds that strengthen in the evening or at night are another classic phenomenon that can be predicted and planned for.

More amazing clouds, Walls of Jerusalem highlands in Tasmania, Australia
Learn to notice clouds that signify approaching fronts or storms (cumulo-nimbus, mammatus), weather changes (eg cirrus) or high winds nearby (lenticulars or wave). On our recent Cape to Cape hike in Western Australia, we were astonished that almost none of the dozens of sightseers around the lighthouse noticed the rain squall and associated wind approaching across the sea until it was literally upon them. Become observant, and you’ll often have time to pitch your tent before the rain and wind arrive. It is always easier to pitch a tent before a storm than during it!

Approaching Cape Leeuwin lighthouse on our last day of the Cape to Cape track in Western Australia. Rain squalls had been passing regularly, and a big one was brewing out to sea. We had plenty of time to don our rain gear before the squall arrived.
You can now get weather updates for your location on Garmin Inreaches, which is particularly worthwhile if you are hiking in areas without cell service, and there are numerous weather apps for your phone if you are in range (more on these in our companion article on Understanding Weather Forecasts and Apps for Hiking).
If strong winds are possible, inspect your route with particular care on a large-scale topographic map. Think about how the wind will flow and ripple around the terrain. Once you’ve read this article and have a grasp of how wind interacts with different landforms, you’ll be able to identify the areas of worst wind using the forecast. Look for alternative pitches should you need them: knowing there is something much better 500m away is invaluable if you know winds are likely to pick up.
Tent Exposure Considerations
Terrain plays a significant role in determining wind loading on the tent. Physicsphobes can skip this section, but again Geoff simplified it – if I can understand it, you can too!
Wind Shear
Wind moving close to the Earth's surface is slowed by obstructions like buildings, trees and rocks. This change in wind speed (and/or direction) with proximity to the Earth’s surface is called "wind shear" or “wind gradient”. For math folk, this is illustrated by the wind shear exponent or, more simply, terrain roughness.
The figure below illustrates the relationship between ground roughness and wind speed at different elevations. The reference wind speed of 10 m/s at 10 m elevation matters because that is the speed at 10m elevation for all the different ground covers mentioned in the graph (the green, blue, yellow and red wind speed lines all meet at the same point at 10 metre elevation, off the right of the graph).

Fig 1: Wind Speed and Elevation for different terrain roughness
10 m/s is approximately 20 knots and classified as a fresh wind in the Beaufort Scale ie a reasonable wind. The Beaufort Scale is actually measured 10 metres above the ground too, not at ground level.
If we adopt a tent height of 1 metre and pitch our tent in an exposed open grassy area near the shores of a lake (like we did at Lake Myrtle in Tasmania – the red line in the above graph) then we’d be exposed to 6 m/s wind and a force of 45 Newtons per square metre.

That explains why I cooked away from the tent in amongst tall thick bushes behind me (and equivalent to the green line in the graph) in 2.3 m/s wind or 7 Newtons of force per square metre.
The wind picked up as the storm came that night and, if it reached 40 knots (gale level at 10m), our tent was exposed to 180 Newtons of force per square metre. Had we pitched it where I cooked, it would have only been 26 Newtons. Ah well, the view was great, and the tent performed brilliantly despite our pitching mistake (can you see what we did wrong?).
Intuitively, we hikers all already know this: a wide, open, flat plain has stronger wind than an undulating one covered in scattered or low vegetation that creates more drag. And a forested plain will be relatively sheltered at ground level at almost any wind speed.

Plenty of sheltered pitches in this undulating forested terrain in the Dolomites, Italy…

…Not so many in the middle of this wide grassy valley in the New Zealand highlands
However, using this knowledge with conscious deliberation, analytically considering the landscape around you, has the potential to make the difference between fun and disaster. We all know condensation is much worse beside lakes, but condensation won’t break your tent.
After our previous article, (Tents in Strong Wind: What you need to Know) you’re aware that, in high winds, small reductions in speed reduce force significantly. When selecting campsites in open areas, even scattered grasses and low shrubs decrease wind speed near the ground. We often choose elevated pitches for their views, but a small rise on a wide plain can have significantly higher wind speeds flowing across it than surrounding terrain.

Duplex and Duplex Flex in an open grassy valley, Patagonia. However, the significantly higher grass in the background will slow windspeed more than were it mown as in the foreground; pitching amongst the tall grass and/or bushes would provide more shelter. (Image Credit: Zpacks)
Wind gradient on a larger scale is also affected by atmospheric conditions. On a day or location with little wind shear, wind speed at the top of a mountain range may be similar to that on the plains below. More often, we’re shocked by how much stronger the wind is at altitude.
Therefore, due to gradient, descending from elevation also provides decreases in wind speed, even without the additional shelter that is often found there, eg below the treeline.

This high pass in the Dolomites was significantly windier than the terrain below.
Laminar air vs Turbulent air
Smooth laminar air blowing on a tent is much less likely to impact it than gusty, turbulent air. Strong gusts and turbulent air shake the tent, applying sudden dynamic loads that tear corners, snap poles and tug stakes loose.
Laminar air is that which flows smoothly over rounded shapes. The air maintains its layered form. Think of aerodynamic cars vs a boxy semi-trailer, or a rounded hill vs a sharp-edged cliff.
Turbulent air is easy to visualise if you imagine fast-flowing water impacting a vertical obstruction: immediately up- and downstream, the water is churned. Similarly, wind breaks apart as it hits a non-rounded or perpendicular obstruction. It can’t roll smoothly over it, so the flow becomes disrupted and jumbled. Turbulent wind usually imparts forces from multiple directions, rather than a single direction as with laminar flows.
Barriers that slow the wind, rather than blocking it completely like a solid wall, create less turbulence.
Joel Dazey’s day job includes analysing airflow around and within buildings (he’s also a sailor and powerkiter). He explains,
“Another way to compare structure vs vegetation is to consider vegetation as filtering the wind. Or, continuing the analogy of water vs air, pouring water over a bumpy object is significantly different than pouring water through a sieve.”
Therefore, you may sometimes be better off tucking in amongst shrubs than behind an inadequate solid wall that’s too small or vertical.

Triplex pitched low and nestled amongst bushes on the Bibbulmun Track, Western Australia
Below are pictures of Hrafntinnusker campground on the Laugavegur Trail in the highlands of Iceland. The hut is tucked to one side of the pass against Mt Hrafntinnusker, but the campground is in the open, closer to the centre of the pass, and here the wind increases in speed even more as it funnels across the grounds through the gap (see also Gap Winds, Funnelling and Venturi, below):

Hrafntinnusker Hut tucked against the side of the pass, with the campground beyond.
When we researched this trail, we thought this campground would be horrendous in strong winds, even worse than the one in the wide, flat valley at Landmannalauger. We booked just two huts where campgrounds were not only the most notoriously exposed, but also at altitude with higher wind speeds; this was one of them. The huts book out at least 8 months in advance; we were on a wait list and got lucky.
This video shows Jessica Mills of Homemade Wanderlust in an official Hrafntinnusker campsite within one of the low rock walls, pictured below.

The substrate is packed dirt and rocks. Note the height and size of the rock walls around the tents. Consider tent shape in relation to the walls, and how air might flow over them.
However, because the rock wall is low, lumpy and vertical and the wind speed high, an enormous amount of turbulence is impacting the tent behind the wall: imagine the air churning around the tent as water does in rapids around rocks. If placing a tent behind a solid wall for shelter, consider its height, and whether you can tuck in super close to it… or further away. The fact that the tent is completely enclosed by a circular wall in this particular instance makes the turbulence even worse as the wind is trapped and buffets around the confined space.
Your tent’s shape in combination with the windbreak also makes a difference; the non-freestanding DuplexL tent in the video and the wind over the wall do not like each other much and it is likely that, even with a perfect pitch by a highly experienced hiker like Jessica, plus the stout stakes that she was missing, the night would have been stressful.
A more rounded tent that better filled the space aerodynamically, with a curved fly and top to deflect rather than trap the wind, may possibly have fared better, depending on its orientation. A lower, half-circle wall that didn’t surround the tent completely would have allowed the turbulence to flow past the tent, rather than being trapped on the lee side.

This screenshot from Jessica Mill’s video on her Homemade Wanderlust channel clearly shows how the shape of the tent does not fit aerodynamically with the shape of the wall, as a more rounded dome or geodesic might (Image Credit: Jessica Mills)
Sometimes, you may actually be better off a small distance downwind, where the air is less jumbled but still slower. A high wall blocking all the wind, such as the hut itself, would have made the best windbreak in this location.
Our Duplex survived strong winds in Landmannalauger, the campground north of this one, because the wind was laminar rather than turbulent… in fact, faster but increasingly laminar as the night wore on, and more tents around us were flattened!

Before the storm in Landmannalauger, our Duplex in the background is surrounded by many tents… far fewer early the next morning! Note the orientation of our tent with its overlapping vestibule pointing into the forecast storm direction, rather than some tents around us which are orientated very differently.
Cliffs, Rotor and Leeside Turbulence
Like the vertical rock wall in the video, cliffs or ridges with sharp edges don’t allow air blowing up them to remain laminar as they reach the top where you are camped; instead, there is a specific form of turbulence known as rotor a distance back from the cliff face, with the location and degree of turbulence depending on wind strength and terrain. The air travels in a rotoring pattern, in some places vertically downwards, and then back towards the cliff face in the opposite direction to the prevailing wind. Much further back, the turbulence diminishes as the laminar flow re-establishes.

Fig 2: The flow field over the sharp edge shows a recirculation zone or rotor behind the escarpment.
Looking at Fig 2 above, you can see why it’s also alarmingly easy to lose objects – tent bags and even tents, particularly empty freestanding tents – over the edge of cliffs while pitching nearby! You can judge localised wind behaviour by tossing blades of grass into the air and watching what they do.
We experienced severe rotor many years ago at a campsite on the Victorian coast. We were a relatively long distance inland, approximately 200 metres!
The wind picked up and, even though we were in an extremely sheltered official campsite surrounded by three-metre bushes, the rotor resembled a giant hand slamming down on the tent at regular intervals whenever the gusts hitting the cliff were of the exact strength and direction for them to fall directly on us.
There was little warning, as you usually get with approaching wind. It was extraordinary and we’ve never experienced rotor to this degree before or since; the Duplex tent that we were using on that hike withstood the forces without issue and, with its trekking poles, possibly better than a dome tent.

Rotor turbulence occurs in very specific areas, which vary in their location depending on windspeed, direction and shape of the edge or mountain causing it; we hang glider pilots are highly attuned to it because violent downdrafts tend to have unhappy endings. You can see how sheltered this campsite appears.

Nearby cliffs the next day. As soon as we saw them, we understood what had happened.
This video illustrates another incidence of leeside turbulence. Three hikers are camped in a bowl with a lake, in the lee of a sharp-edged ridge (4:42) just below the top of a mountain peak. Wind is “changing direction all the time,” (6:39); the ‘change’ may be a prevailing wind change but turbulence is a significant component with air churning around the bowl like water in a washing machine. At 5:44 is a sudden and significant lull, also a classic sign of rotor or leeside turbulence.
At 7:12 you can see a leeside gust approaching across the water. Where a gust initially makes landfall on the leeside depends on
1. terrain shape
2. wind direction and
3. wind strength.
The gust is not just sideways but also a sudden downward force, like an elephant stamping on your tent. The stronger the wind, the greater the downward force and turbulence. The gust continues to travel in the direction of the wind, with the downward forces continuing along with it, like a travelling waterfall.

Fig. 3: All pilots are aware of leeside turbulence, which has the power to down planes alongside mountains. Image credit weather.gov
This video by the Scarp tent owner referenced in the video above is fantastically instructive. It not only illustrates the classic cascade of human factor failures that pilots know lead to mishaps not restricted to aircraft, but it also perfectly captures a downdraft. It’s also important to note that the tent was incorrectly pitched - we know from Part 1 that a single missing anchor, guyline or support can lead to catastrophic failure in high winds and in this case not one but two were missing on the windward side. There’s also a good reason for such human errors to occur, and we’ll explore that in Part 3 (Pitching For and During strong wind).
Both videos show gusts approaching across the water but the second captures a picture-perfect downdraft, at 9:40 (start at 9:39 and set replay speed to half).

Behind Tony you can see the downdraft turbulence has just hit the water and is now radiating out and travelling towards him (Image Credit: Tony Noble)
In the video snip above, behind and to the left of vlogger Tony Noble, near the opposite shore, you can see the gust hitting the water vertically and radiating outwards. It’s possible that the earlier gust that broke his tent landed near or right on top of it, with a lot of downward travelling air still remaining. The Hilleberg Black series tent, the strongest in their range, suffered a slightly bent pole (discovered only when the owner packed up): even tents built to withstand serious snowloading and sideways forces are unlikely to resist a sudden dynamic force like a gust strong enough to down an aeroplane!

Image Credit (from video at 9:51) The Outdoors with Tony Noble
Later in the video at 18:50 (above) Tony adds, “To rub salt in, there’s three lads camped not 200 yards away, [all in budget tents]... their tents were all right, unfortunately mine wasn’t.” Those tents are 200yds away; gusts are either leapfrogging or passing to the side of them, or they are downwind of a more rounded section of the ridge, with less severe turbulence. You can even see that the surface is almost glassy nearby. A lake can tell you all you need to know, if you take the time to look and think about what you’re seeing.
Both the Scarp and the Hilleberg are stormworthy tents and deservedly popular in the UK: don’t base your choice on these videos that have everything to do with terrain, choice of pitch and quality of pitch, and little to do with quality of tents.
The budget tent near the Scarp was completely flattened in the big gust; the aluminium would have fatigued after a few more but the trio packed up before this could happen. That the distant cluster of budget tents survived was little more than luck... or the skill of the owners in reading terrain and wind!

Tarptent’s Scarp 1 with its two extra poles deployed is deservedly popular in the UK because, while probably not as strong as the Hilleberg Black series, it has an excellent track record in wet, blowy conditions. (Image Credit Tarptent)
If you’re heading out into strong winds, it’s essential to understand terrain as much as your tent. Pausing for half an hour to read the water on the lake, and extrapolating changes that might accompany the forecast storm before choosing a pitch, would have been invaluable.
So be aware of this phenomenon when camping near sharp-edged cliffs, peaks and ridges in strong winds. Rotor is less likely to damage tents, as we’re unlikely to choose exposed pitches in conditions strong enough for it to be a problem but, because similar turbulence also occurs far into the lee, you can be tricked.
Acceleration Zones (aka compression zones)

Acceleration zones occur in laminar air when it blows over a curved edge, such as a rounded hilltop or cliff. As it travels a further distance, it has to flow faster – think about water flowing around a bend in a river.
We experienced this in a prime clifftop pitch in Wirrabara, in the Flinders Ranges overlooking a plain, the pitch that’s featured on our home page. Conditions were calm when we set up late afternoon/early evening, but the wind sprang up after we’d gone to bed. It wasn’t particularly strong but we were right in the acceleration zone; we had a nerve-wracking night because we had idiotically pitched under a branch.
There was also a small amount of turbulence as the cliff wasn’t uniformly rounded: air is not always perfectly laminar or perfectly turbulent and you’ll often experience a combination. Moving your pitch just a few metres along or away from edges can make a huge difference.

The peaceful sunset gave no hint of what was to come!
You can usually feel acceleration zones on your skin; if you expect strong winds, camp further back from the edge where the curvature flattens.
‘Tents in storms’ vloggers (why so many in the UK?) often stand in acceleration zones (39:36) to take wind measurements just five or ten metres from their tent, which is in significantly less wind. Such videos are fun - or exasperating! - to watch, but it’s important to remember that these hikers are usually out for a single overnight, just a few hours away from the trailhead and their car; they regularly end up hiking back to their car at 2am. This is completely different to someone halfway through a ten day hike, with no such bailouts and the prospect of many miserable nights with drenched gear ahead of them. Only a tiny minority of vloggers use anemometers reliably.

This Mont Dragonfly near a drop off may be far enough from the edge to be out of the acceleration zone if the edge is rounded. If the edge is sharp, the slope down from it makes it likely that it is in lee but also in rotor: great for views in benign conditions as now, less so in strong winds. Image Credit: Geoff Murray
Gap Winds, Canyon Winds, Venturi and/or Funnelling
These winds can be caused by different combinations of terrain and atmospheric conditions, but the end result is that there is an increase in wind speed as the wind is forced to flow through a narrow gap. The mouth of a valley or gorge, the head of a lake, and a high pass between two mountains are places often chosen for their views, but they are particularly bad in windy weather.
Canyon or gully winds commonly pick up significantly in the evenings and at night as cooling air flows downwards, and they can be extremely strong because the slopes are steep. You can often anticipate this and orient your tent correctly before the wind arrives.
Lakes, Bays, Seas and other Large Bodies of Water
The edges of seas, lakes or wide inlets can also be much windier than surrounding terrain when the direction is onshore because there are no obstacles to slow the wind as it passes across the water. If you are walking around a lake or a bay, you may be better off stopping earlier or later where the wind is offshore or crossing rather than directly onshore, or venturing fifty metres inland and into vegetation.
Joel Dazey points out that even shallow rises and obstructions can create enormous turbulence in strong wind:
“Beach campers should be aware of the effect tides can have on camping locations. A receding tide can expose or change airflow around piles of driftwood, rocks, ledges and drop offs, creating rotor or acceleration zones that didn’t exist previously.”
“Where I live in Washington State, the tidal range is between 3-4m. I’ve awoken to find huge amounts of turbulence that didn’t previously exist, even though the wind was exactly the same. The culprit was a large shelf at the shore that was exposed by the outgoing tide.”

Duplex on a paddling trip, Coorong, South Australia
Finding Wind Breaks
Utilise Trees – Carefully!
Although trees can provide shelter, branches may break during strong winds and of course you should never camp under large limbs, let alone in storms. Choose carefully or Darwin will do it for you!
A Darwin contender in the Flinders Ranges, South Australia. This eucalypt species is infamous for dropping limbs and this particular tree possesses inverted forks prone to splitting.

The pictogram seemed pretty clear to us at least!
Utilise Lees
Lees that slow the wind rather than stopping it completely, such as a thicket of shrubs, may be as good or better than a solid obstruction that causes massive turbulence, as seen in Dixie’s video linked above.
https://www.youtube.com/watch?v=O255e1-NgzI shows a storm almost identical to what we experienced in the same place in the central highlands of Iceland. Go to 1:08 for a cluster of tunnel tents placed by an experienced tour guide in the lee of a levee bank.
The lee side of hills beyond the acceleration zone at the top are often subjected to significantly lower windspeeds (but remember rotor and turbulence from sharp edges!).
If it’s not wet or rainy, even a very shallow depression on an otherwise featureless flat plain will have lower wind speeds than the surrounding area. However, depressions anywhere – even on mountaintops! – at times when wind is accompanied by rain can be disastrous (31:19 – 35:43, explanation at 33:00): “The bathtub floor is working exactly like… a bathtub!” Here, strong wind has deformed the tent sufficiently to compromise the shape of the bathtub floor.
Sacrifice Views
Unless you’re a storm chaser who heads out to camp in crappy weather, sacrifice views and even a degree of comfort: that Instagrammable clifftop pitch is not worth a broken tent! In extreme winds, your highest priority is to choose the pitch that best ameliorates it to prevent tent failure.

This screenshot of a spectacular cliftop pitch by Youtuber Outlawed Landscapes was a deliberate test of the highly wind-resistant Luxe Hexpeak v4a (Image Credit: Outlawed Landscapes)
Learn
After reading this article, watch Youtube camping videos analytically: you’ll notice many interesting and instructive features around terrain, location of pitch and reported windspeeds. You can learn so much from them. Take a look here. Consider cloud movement and wind direction. Consider terrain. Analyse what is happening and why. Where else might you pitch? Could you have predicted this? Why is there no issue initially (or is there?), and why does it happen later? We can all learn from each other, and every bit helps when we are out there searching for that sheltered pitch.
Here’s another fun example from Tony Hobbs in the UK. Why did this exceptionally wind-resistant tent fail? What makes it particularly - and ironically - more susceptible to the relatively rare wind phenomenon seen here (hint: read Part One as well as this article). What tent design might have fared better? Why? How might you ameliorate the impact on the Trailstar in what might be a completely counter-intuitive way? What might you do with the door pole? Can you see an alternative pitch?
Now that you understand where to pitch your tent, Part 3 describes how to pitch and anchor it for and during strong wind, so read on to gather and practise those skills!

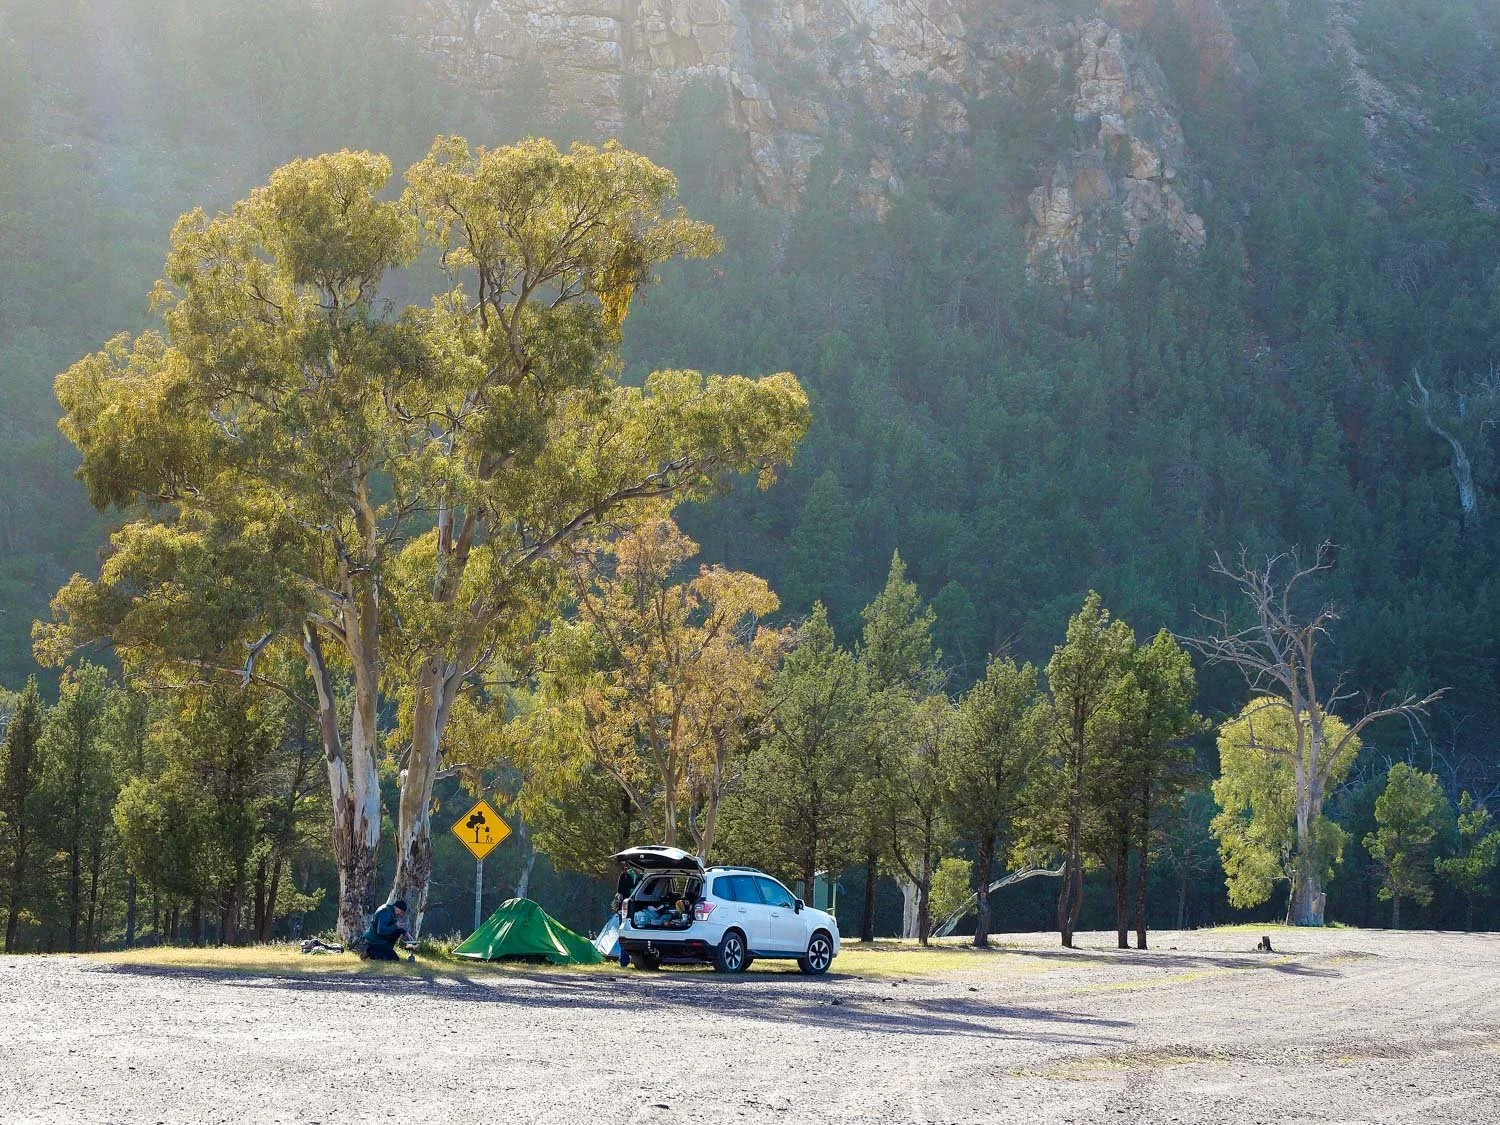
The perfect pitch is a joy that will stay with you forever. This one in the Tasmanian highlands was sheltered from the prevailing wind and yet suitably open for views of the river, surrounding peaks and the boiling cauldron that was the sky.